Introduction
Building a hardware product is exciting, but it’s also expensive and risky. Many startup founders spend thousands of dollars and months of time before realizing their prototype doesn’t meet user needs or fails during testing.
This guide will show you step-by-step how to save money, avoid mistakes, and build a working hardware prototype in 2026. Whether you’re a startup founder, engineer, or IoT enthusiast, following these steps will significantly increase your chances of success.
Why Most Hardware Startups Fail
Most hardware projects fail not because of lack of effort, but because of strategic mistakes early on. Here are the common reasons:
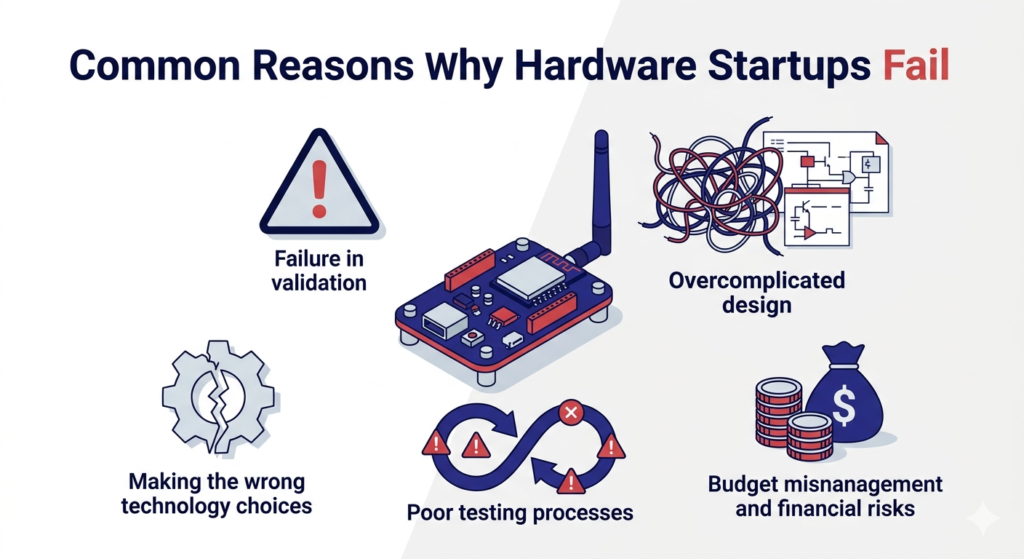
- No Validation: Building a product nobody wants. Many founders start development without confirming that people actually need their product.
- Overcomplicated Design: Adding too many features increases cost and delays. Complexity often leads to design errors that require expensive fixes.
- Wrong Technology Choice: Choosing the wrong microcontroller, wireless standard, or battery solution leads to poor performance and reliability issues.
- Poor Testing: Skipping iterations results in untested features reaching production.
- Budget Mismanagement: Underestimating real costs for components, firmware, prototyping, and testing can blow up your budget.
Lesson: Avoiding these pitfalls can save you $5,000+ and prevent months of wasted effort.
Step 1: Validate Your Idea First
Validation is the most important step in hardware development. Before you spend a dime on prototyping, make sure there is real demand for your product.
Why Validation Matters:
- Confirms real customer interest
- Saves time and money
- Helps refine your product concept
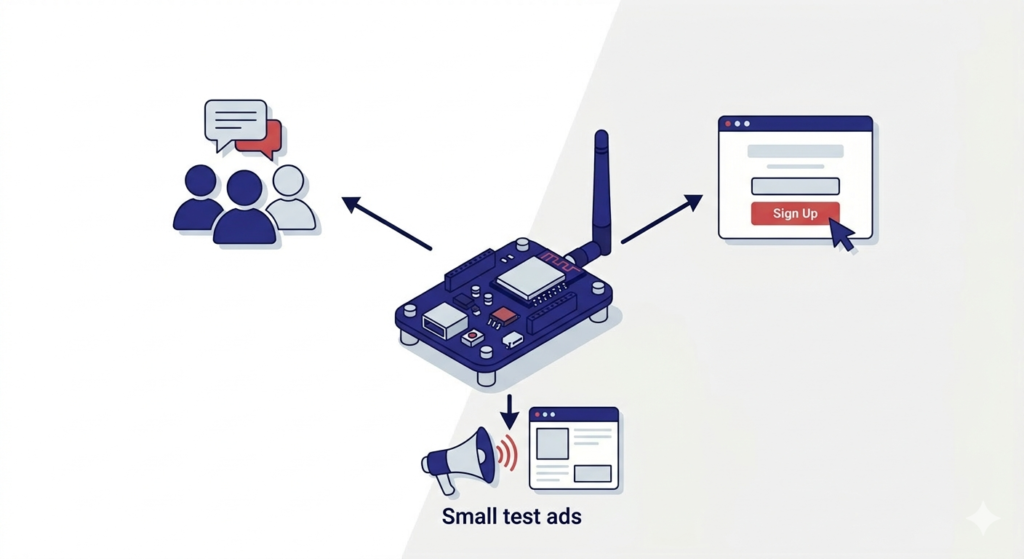
How to Validate Your Idea:
- Talk to Potential Users: Interview 10–20 people who would use your product. Ask about their problems, expectations, and willingness to pay.
- Create a Simple Landing Page: Describe your idea and gather email signups. This is a low-cost way to measure interest.
- Run Small Ads: Test user interest via low-budget campaigns on social media or Google Ads.
If people show no interest, it’s better to pivot or improve the concept rather than start building immediately.
Step 2: Understand Real Hardware Costs
| Item | Estimated Cost |
|---|---|
| PCB Design | $200 – $2,000 |
| Components | $50 – $500 |
| Firmware Development | $500 – $5,000 |
| Prototyping | $200 – $1,500 |
| Testing & Iteration | Variable ($200 – $2,000) |
Step 3: Choose the Right Technology
Selecting the right technology ensures your product works as intended and prevents costly redesigns.

- IoT Products: Low-power solutions like BLE are often better than Wi-Fi for battery-powered devices.
- Microcontrollers: ESP32 or similar options offer a good balance between cost, functionality, and ease of development.
- Avoid Overengineering: Focus on core functionality in your prototype. Advanced features can be added later once the MVP works.
Rule of Thumb: Keep it simple. Functionality over bells and whistles will save time, money, and reduce risk.
For detailed technology choices, check [ESP32 development guide].
Step 4: Build a Minimum Viable Prototype (MVP)
| Don’t | Do |
|---|---|
| Build the full product at once | Focus on core features only |
| Add extra features immediately | Ignore extra features; add later based on feedback |
| Delay testing until full product is ready | Test fast, iterate quickly |
| Assume first prototype is final | Use MVP to gather feedback and improve |
| Overcomplicate the design | Keep it simple and functional |
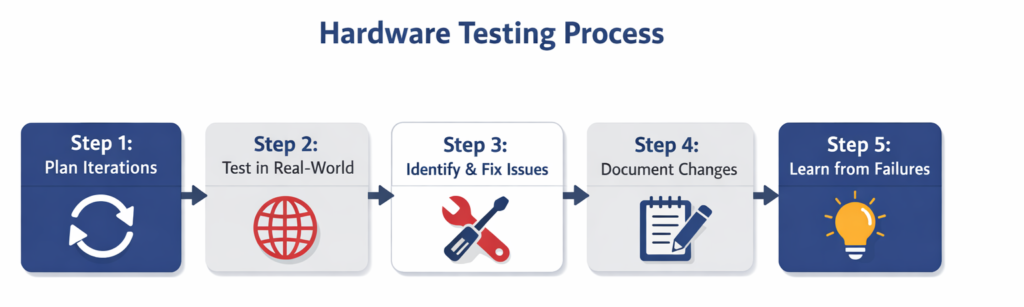
Step 5: Test, Iterate, and Improve
Step 6: Optimize for Power
Battery life is one of the most overlooked aspects of hardware development, especially for IoT devices.
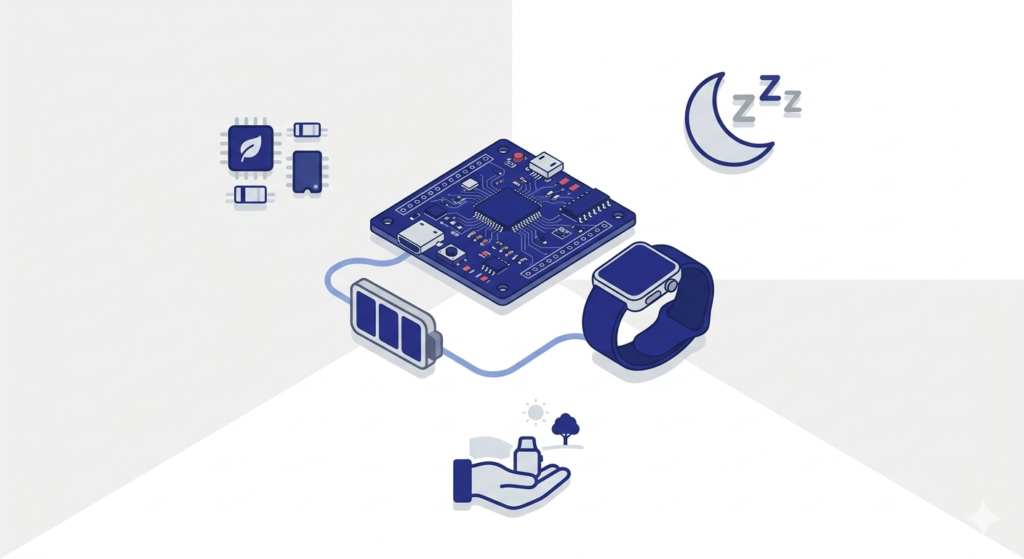
- Use low-power components wherever possible.
- Optimize firmware to enter sleep or low-power modes.
- Test battery life under real usage conditions.
A device with poor battery performance can fail even if all other features work perfectly. For detailed optimization, see [IoT battery optimization guide].
Step 7: Prepare for Manufacturing
Before mass production, prepare thoroughly to avoid delays and cost overruns.
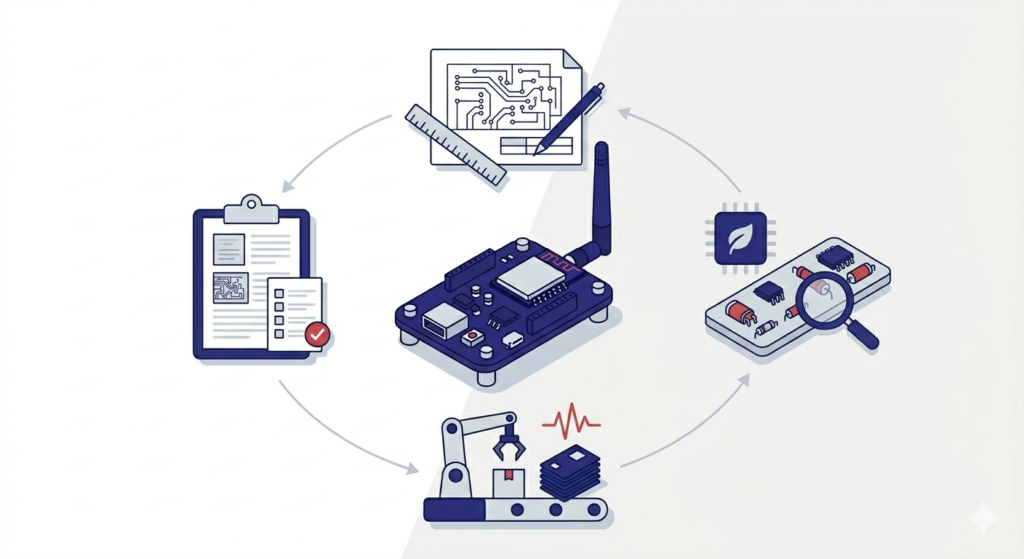
- Finalize PCB design
- Optimize component selection for cost and availability
- Test suppliers and assembly processes
- Create detailed documentation
Mistake to Avoid: Skipping manufacturing prep leads to costly mistakes during production.
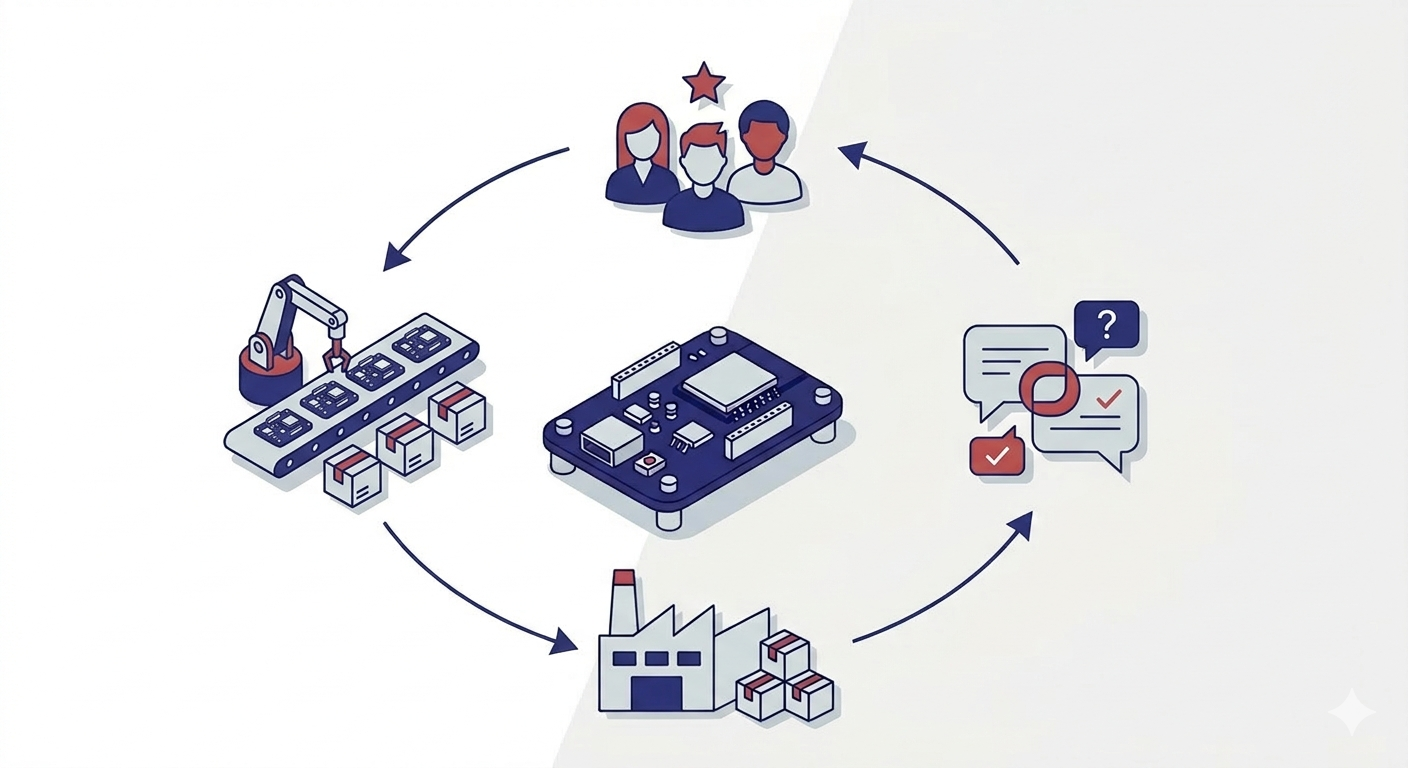
Step 8: Launch Strategy
After building and testing your prototype:
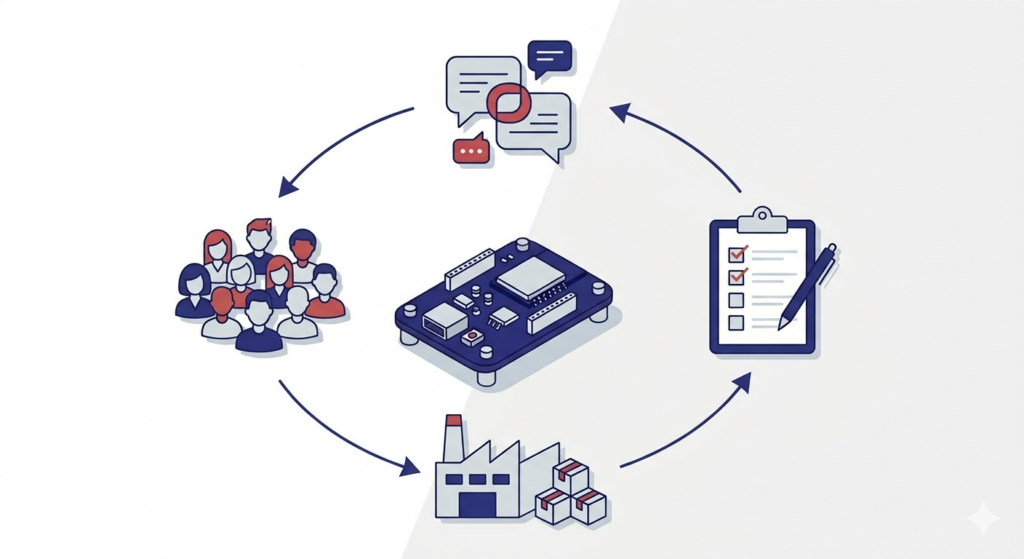
- Validate MVP with a small audience
- Collect feedback and iterate before mass production
- Document all processes for repeatable manufacturing
- Start with a small batch to reduce risk
Key Takeaways
- Validate your idea before spending money
- Keep MVP simple and focused
- Choose the right technology for your product
- Test and iterate early and often
- Optimize power and prepare thoroughly for manufacturing
Following these steps will save money, reduce risk, and increase your chance of success.
Need Help?
If you’re planning to build a hardware product, we can help with:
- Idea validation
- PCB & firmware development
- Full prototype and product development
Let’s turn your idea into a working product.