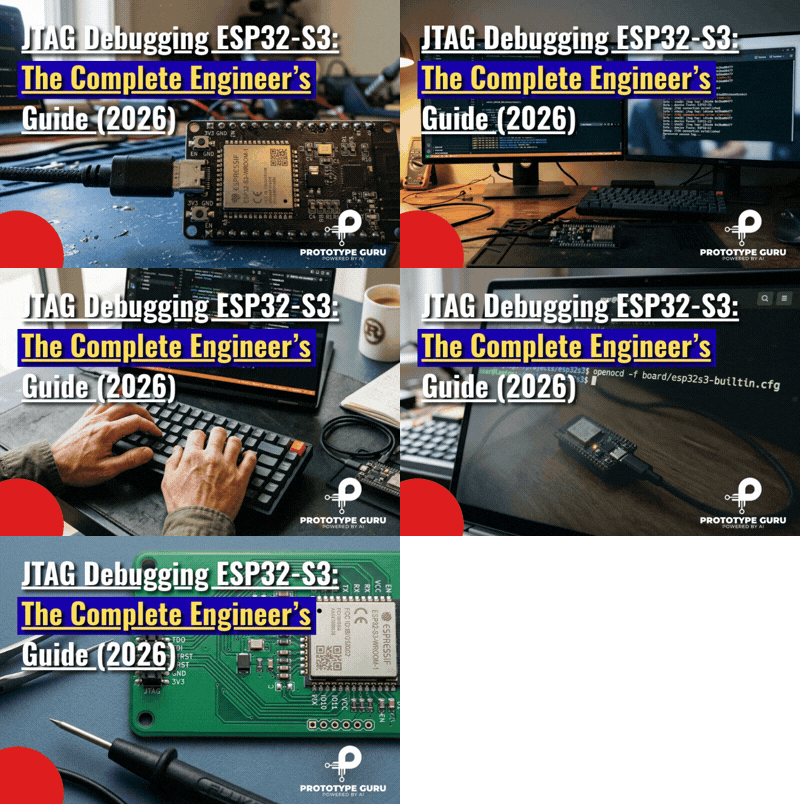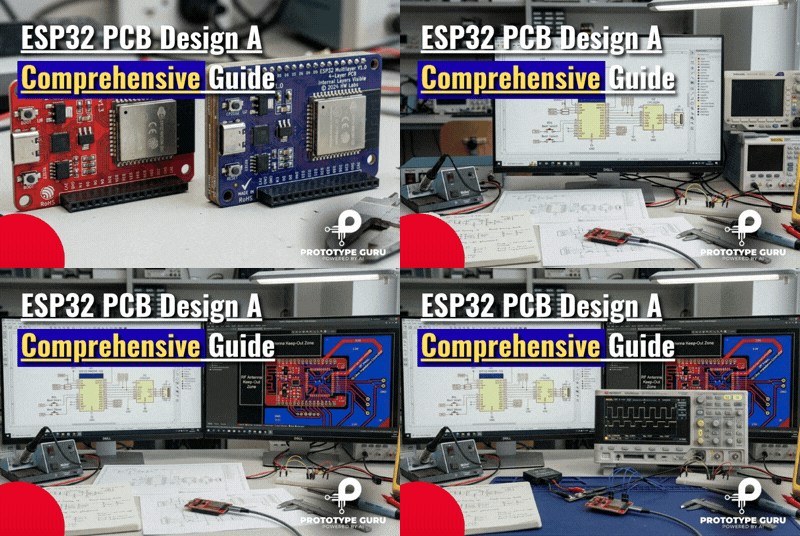










JTAG debugging ESP32-S3 lets you halt the processor, set breakpoints, inspect memory, and step through firmware line by line, something a serial print statement can never fully replace. The ESP32-S3 has a genuine advantage here: it ships with a built in USB Serial/JTAG controller, so in most cases you don’t need an external JTAG adapter at all to start JTAG debugging ESP32-S3 hardware. Plug a USB cable into the D+/D pins, install OpenOCD, point GDB at it, and you’re debugging within minutes.
That’s the one paragraph version. The rest of this guide covers everything that paragraph leaves out, including the parts that actually eat up your afternoon when you’re staring at a LIBUSB_ERROR_NOT_FOUND message at 11 PM while trying to get JTAG debugging ESP32-S3 working on a new board.
What Is JTAG Debugging ESP32-S3

I’ve spent the better part of eight years bringing embedded products from schematic to production, and if there’s one lesson that never gets old, it’s this: printf debugging works right up until it doesn’t. The moment you’re chasing a race condition inside a FreeRTOS task, or a stack overflow that only shows up after four hours of runtime, serial prints stop being useful and start being noise.
JTAG (Joint Test Action Group) is a hardware debug interface standardized as IEEE 1149.1. Originally built for board level boundary scan testing, it was later adopted by silicon vendors as the physical transport for on chip debugging, halting the CPU, reading registers, setting breakpoints, and single stepping through instructions in real time.
On the ESP32-S3 specifically, JTAG debugging gives you:
Hardware Breakpoints & Watchpoints
Set hardware breakpoints and watchpoints directly without needing to recompile your firmware.
Live Variable & Register Inspection
Perform live inspection of variables, stack frames, and peripheral registers in real time.
Independent Dual-Core Control
Gain the ability to halt both cores independently on the dual-core ESP32-S3 variant.
Full FreeRTOS Visibility
Get full visibility into FreeRTOS task states, which is invaluable for IoT product development where multitasking bugs are common.
Crash-Proof Debugging Path
Maintain a reliable debugging path that works even when the firmware itself has crashed before it could print anything.
If you’re evaluating which Espressif chip fits your project in the first place, it’s worth reading our ESP32 selection guide before committing to hardware, since debug capability differs meaningfully between ESP32 variants.
How JTAG Debugging ESP32-S3 Works: The Architecture

Three components work together to make JTAG debugging happen on the ESP32-S3:
- The target chip, the ESP32-S3 itself, which exposes a JTAG Test Access Port (TAP) either through dedicated GPIOs or its built in USB controller.
- OpenOCD (Open On Chip Debugger), a background process that talks to the JTAG interface and exposes a GDB server on TCP port 3333.
- GDB (specifically
xtensa-esp32s3-elf-gdb), the debugger client that connects to OpenOCD’s GDB server and gives you the actual breakpoint, step, and inspect commands.
Visual suggestion: a block diagram showing IDE to GDB to OpenOCD to JTAG/USB to ESP32-S3 target, with the “Application Loading and Monitoring” path (esptool/idf.py flash) shown as a parallel branch.
Your IDE, whether that’s VS Code, Eclipse, or a plain terminal, sits on top of GDB and gives you the visual breakpoints, variable watches, and call stacks. Underneath, GDB is issuing low level commands that OpenOCD translates into JTAG protocol signals: TDI (Test Data In), TDO (Test Data Out), TCK (Test Clock), and TMS (Test Mode Select).
This layered architecture is exactly what shows up in the official Espressif JTAG debugging guide, and understanding it matters because when something breaks, you need to know which layer to blame: the physical connection, OpenOCD’s target configuration, or GDB’s launch configuration.
Built-in USB JTAG vs External JTAG Adapter
This is where JTAG debugging ESP32-S3 genuinely differs from most Cortex-M or classic Xtensa parts I’ve worked with. Instead of requiring a separate debug probe like an ST-Link or J-Link, the ESP32-S3 has a USB Serial/JTAG Controller built directly into the silicon. It’s a fixed function hardware block that simultaneously provides a serial console and a JTAG debug port over the same USB connection, using only the D+/D pins.
| Feature | Built-in USB JTAG | External JTAG Adapter |
|---|---|---|
| Extra hardware needed | None, just a USB cable | Adapter (ESP-Prog, J-Link, FTDI based) |
| Setup complexity | Low | Moderate to high |
| Wiring | 2 pins (D+/D-) | 4 to 5 pins (TDI/TDO/TCK/TMS/GND) |
| Simultaneous serial and JTAG | Yes, over one USB port | Needs a separate UART connection |
| Debug speed | Good for most firmware work | Can be faster with dedicated silicon (e.g., J-Link) |
| Best for | Prototyping, dev boards, most day-to-day debugging | Production test jigs, multi-target debugging, legacy boards |
| Works with custom boards missing USB breakout | No | Yes |
For nearly every project I’ve brought through rapid prototyping, the built in option is the right starting point. You only reach for an external adapter when your custom board doesn’t expose the USB D+/D lines cleanly, or when you need JTAG chaining across multiple targets on a production test fixture, something we cover in more depth during PCB testing and inspection for hardware going into manufacturing.
Espressif’s own documentation confirms this design intent directly: the built in JTAG configuration guide states plainly that no additional chip is required, and that a standard USB cable to the D+/D pins is sufficient on supported dev kits.
Selecting the Right Debug Adapter
If your product design does call for an external adapter, common on boards where the USB lines aren’t broken out to a connector, or where you want a dedicated always attached debug rig, here’s how the common options stack up.
| Adapter | Interface | Typical Use Case | Notes |
|---|---|---|---|
| ESP-Prog | JTAG + UART | Espressif’s official dev/debug board | Cheap, well supported by ESP-IDF out of the box |
| SEGGER J-Link | JTAG/SWD | Professional development, production programming | Fast, reliable, works across many silicon vendors |
| FTDI based adapters (e.g., FT2232H) | JTAG | Custom/low cost debug boards | Requires manual OpenOCD interface configuration |
| ESP32-S3 as a standalone debugger | JTAG over Wi-Fi/Ethernet | Debugging other targets remotely | Uses Espressif’s openocd-on-esp32 port |
A quick engineering note: if you’re choosing components for a board that needs to support both flashing and full JTAG debug in production test, factor connector footprint and pin availability into your electronic component selection guidelines early. Retrofitting a debug header after layout is locked is a common, and avoidable, schedule delay.
Setting Up OpenOCD for ESP32-S3

Here’s the setup sequence I actually use every time I bring JTAG debugging ESP32-S3 tooling onto a new board.
Step 1: Install ESP-IDF (if you haven’t already). OpenOCD for ESP32-S3 ships bundled with ESP-IDF’s tools installer, so running install.sh (or install.bat on Windows) pulls in the correct branch automatically. Espressif maintains its own fork at the openocd-esp32 repository specifically because mainline OpenOCD lags behind on newly released Espressif silicon.
Step 2: Verify the install:
openocd --version
Step 3: Launch OpenOCD against the built in JTAG configuration:
openocd -f board/esp32s3-builtin.cfg
A healthy startup looks like this in the console:
Info : esp_usb_jtag: VID set to 0x303a and PID to 0x1001
Info : Listening on port 3333 for gdb connections
If instead you’re using an external adapter, swap the config file for the matching interface and target scripts, for example interface/ftdi/esp32_devkitj_v1.cfg combined with target/esp32s3.cfg.
Step 4: Leave that terminal running. OpenOCD stays active as a background server; you don’t close it until your debug session ends.
Configuring the ESP32-S3 Debug Target
Target configuration is where most of the confusion I see junior engineers run into actually lives. A few things worth locking down before you even open GDB:
Confirm USB Enumeration
On Windows, check Device Manager for the correct COM port and libusb driver binding. On Linux/macOS, lsusb or system_profiler should show VID 0x303a.
Match ELF Build Output
OpenOCD and GDB need to reference the correct .elf file path from your build/ directory. A stale or mismatched ELF is one of the most common silent failure modes.
Configure Hardware Watchpoints
Set hardware-watchpoint-limit appropriately if you’re debugging FreeRTOS heavy code, since the Xtensa core has a finite number of watchpoint registers.
Decide Your Reset Strategy
monitor reset halt is the standard approach for stopping execution right at boot, which is essential when you’re debugging early initialization or bootloader stage issues.
For anything touching embedded systems development work where firmware and hardware bring up happen in parallel, I strongly recommend keeping a documented launch.json or OpenOCD configuration per board revision. Pin mappings and adapter configs drift silently between hardware spins otherwise.
Launching the Debugger
There are three practical paths here, and which one fits depends on your team’s tooling.
Debugging via VS Code (ESP-IDF Extension)
This is the path I recommend for most product teams today, since it keeps flashing, monitoring, and debugging inside one IDE window.
- Install the official ESP-IDF VS Code extension.
- Set
idf.openOcdConfigsto["board/esp32s3-builtin.cfg"]in your workspace settings. - Create a
launch.jsondebug configuration pointingmiDebuggerPathatxtensa-esp32s3-elf-gdbandprogramat your build’s.elf. - Hit the debug icon. VS Code starts OpenOCD internally and attaches GDB automatically.
Debugging via Command Line (GDB)
For CI pipelines or scripted debugging, the raw command line flow is:
xtensa-esp32s3-elf-gdb build/your_project.elf
(gdb) target remote :3333
(gdb) monitor reset halt
(gdb) break app_main
(gdb) continue
This is also the fastest way to confirm your hardware setup is correct before layering an IDE on top, and it’s the exact troubleshooting first approach I use whenever a new board revision comes off the assembly line.
Debugging via Eclipse
Espressif’s original documentation was written around Eclipse, and it’s still fully supported. The workflow mirrors VS Code closely: configure the OpenOCD launch target, point the debug configuration at your ELF, and launch.
| Method | Best For | Learning Curve |
|---|---|---|
| VS Code + ESP-IDF Extension | Day to day firmware development | Low |
| GDB Command Line | Scripting, CI, low level troubleshooting | Medium |
| Eclipse | Teams already standardized on Eclipse | Medium |
Practical Debugging Workflow

Once you’re attached, the workflow that actually saves engineering time looks like this:
- Set a breakpoint at the function boundary where the bug reproduces, not at
app_mainevery time. Halting too early wastes cycles stepping through unrelated init code. - Use hardware watchpoints on variables you suspect are being corrupted by another task, rather than manually scanning memory.
- Inspect the FreeRTOS task list (
info threadsin GDB) when you suspect a scheduling or priority inversion issue. This is where JTAG massively outperforms serial debugging, since you can see every task’s state simultaneously without instrumenting code. - Step through interrupt service routines carefully; the Xtensa architecture’s window registers can make stack traces inside ISRs look unusual to engineers coming from ARM Cortex-M backgrounds.
If your product involves wearable technology or other battery constrained designs, remember that halting the core with JTAG will distort your power measurements. Always validate current draw with the debugger fully disconnected.
Common JTAG Debugging ESP32-S3 Errors and Fixes
These are the failures I see repeated across nearly every ESP32-S3 debugging support thread, and in my own bring up work.
| Error | Likely Cause | Fix |
|---|---|---|
| LIBUSB_ERROR_NOT_FOUND | Wrong USB driver bound to the device (common on Windows) | Install/rebind the correct libusb driver via Zadig or the ESP-IDF installer’s driver step |
| OpenOCD hangs at “Listening on port 3333” but GDB won’t connect | Firewall blocking localhost TCP, or a stale OpenOCD process already bound to the port | Kill orphaned OpenOCD processes; check for port conflicts |
| GDB connects but breakpoints never hit | ELF path mismatch between build output and launch.json | Rebuild and re-flash, then re-point the debug config at the fresh .elf |
| “Target not halted” errors | Reset sequence not issued before setting breakpoints | Add monitor reset halt before breakpoint commands |
| Debugging works over USB but flashing over the same port fails intermittently | USB Serial/JTAG controller handling both roles simultaneously with a marginal cable | Use a known good, short USB data cable; avoid USB hubs during debug sessions |
| COM port not detected at all | Board using UART-only flashing mode, or D+/D- pins not exposed on custom hardware | Verify board schematic; on custom boards confirm USB pins per your circuit board design rules |
Best Practices Checklist
Common Mistakes Engineers Make
I’ve made most of these myself early on, so take them as lived experience rather than lecture.
- Debugging on a board with no accessible USB JTAG and no external header. This gets designed out accidentally when engineers assume “we’ll just use the built in debugger” without confirming the D+/D traces are actually broken out on the production PCB.
- Ignoring power domain effects. Halting the core mid debug can leave peripherals in unexpected states, especially on designs with aggressive power gating.
- Skipping the reset halt step, then wondering why breakpoints silently fail to trigger.
- Mixing debug and production firmware builds. Optimization flags change variable visibility in GDB; always debug against a build compiled with debug symbols intact.
- Not budgeting debug access into the enclosure design, which becomes a real problem once you’re past prototyping and into industrial product design engineering territory where the board is sealed inside a housing.
Designing Your Own Board for JTAG Debugging

If you’re the one laying out the PCB rather than just debugging someone else’s dev board, a few design decisions upfront save real pain later.
- Break out the USB D+/D lines to an accessible test point or connector, even if the production enclosure won’t expose them. You’ll thank yourself during bring up and field failure analysis.
- If your product needs 2.4 GHz PCB antenna design considerations, keep debug traces away from the RF section to avoid coupling noise into sensitive matching networks.
- For regulated products, plan debug access removal or lockout as part of your electronic product certification process. An exposed JTAG port can be a security and compliance concern in the field.
- For medical device development, document debug interface access controls explicitly, since design history files typically need to show how debug and test access is disabled or secured in production units.
Getting these decisions wrong is a quieter but very real contributor to why hardware timelines slip, a pattern we’ve written about in detail in why hardware startups fail.
Quick Decision Guide
| Your Situation | Recommended Approach |
|---|---|
| Using a standard ESP32-S3 dev board | Built-in USB JTAG, no extra hardware |
| Custom board without exposed USB D+/D- | External JTAG adapter (ESP-Prog or J-Link) |
| Need fastest possible debug/flash cycle in production test | SEGGER J-Link with a dedicated fixture |
| Debugging FreeRTOS task scheduling issues | GDB info threads over JTAG, not serial prints |
| CI/automated regression testing | GDB command line scripted sessions |
| Field debugging a sealed enclosure | Design in a dedicated debug header during your PCB design phase, not after |
Frequently Asked Questions
1. Does the ESP32-S3 need an external JTAG adapter?
↑2. What is the difference between JTAG debugging and using idf.py monitor?
↓3. Why does OpenOCD show LIBUSB_ERROR_NOT_FOUND on Windows?
↓4. Can I debug both ESP32-S3 cores at the same time?
↓5. Is JTAG debugging safe to leave connected in production hardware?
↓6. Why won’t my breakpoints trigger even though GDB connects successfully?
↓7. Does JTAG debugging work with FreeRTOS on ESP32-S3?
↓8. Can I debug an ESP32-S3 remotely over Wi-Fi?
↓Final Recommendations
Start every JTAG debugging ESP32-S3 project with the built in USB JTAG path. It’s fast, it’s free, and it covers the overwhelming majority of debugging scenarios you’ll actually hit. Reserve external adapters for production test fixtures or boards where the USB lines genuinely aren’t accessible. And whatever you do, don’t leave debug interface decisions for the last week of layout; they belong in the same conversation as component selection and enclosure planning.
If you’re building a connected product and want a team that treats debug access, PCB design, and firmware bring up as one integrated process rather than three separate handoffs, that’s exactly the kind of work we do end to end. Reach out to talk through your ESP32-S3 hardware design before your next layout is locked in; it’s a lot cheaper to fix now than after fabrication.