



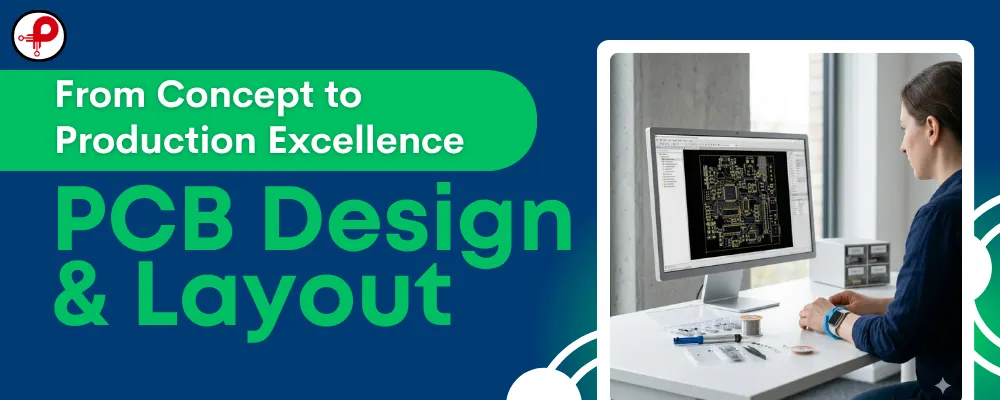


If you have ever sat in a hardware meeting and heard someone say “just send it to the layout guy” right after the schematic was finished, you have already brushed up against the confusion this article is going to clear up. After more than eight years of taking boards from a napkin sketch to a fabrication house, I can tell you that mixing up PCB design and PCB layout is one of the most common and most expensive mistakes early stage hardware teams make.
This guide breaks down PCB design vs PCB layout in plain language, shows you the real workflow both stages follow, and gives you a practical comparison table you can bookmark. Whether you are a founder hiring your first hardware engineer or a student trying to understand where schematic capture ends and routing begins, this article will give you a working mental model you can use immediately.
What Is PCB Design?
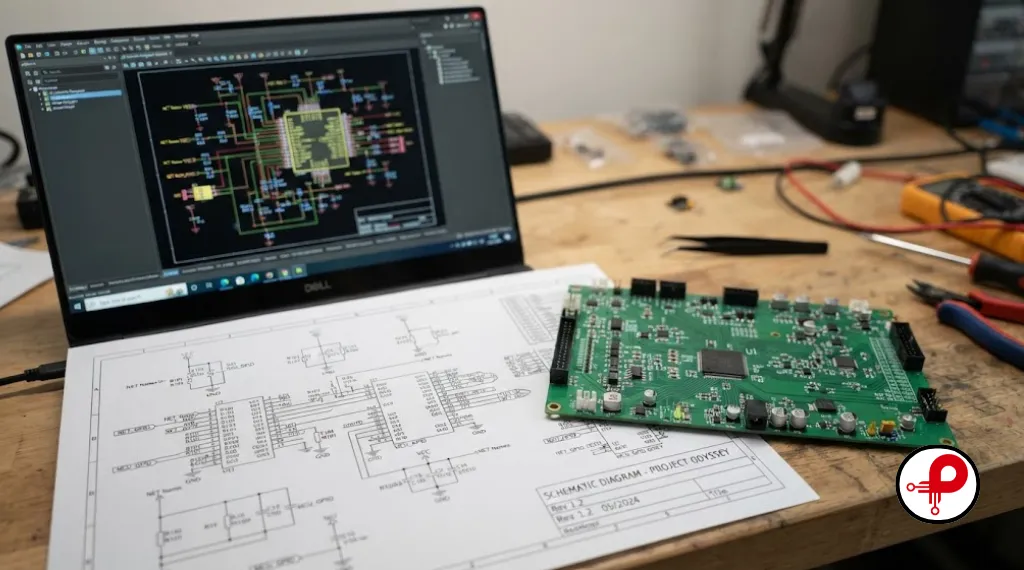
PCB design is the umbrella term for the entire journey a circuit takes before it becomes a manufacturable board. Think of it as the engineering brain of the project. It starts long before anyone draws a trace, and it answers questions like what the product needs to do, which components will make that happen, how much the board should cost, and how the finished device will hold up in the real world.
At this stage, an engineer is working through requirements planning, choosing components from datasheets, drawing the schematic, deciding on the number of layers, and thinking about power budgets, thermal limits, and electromagnetic behavior. None of this involves physically placing a part on a board yet. PCB design is strategy first, geometry second.
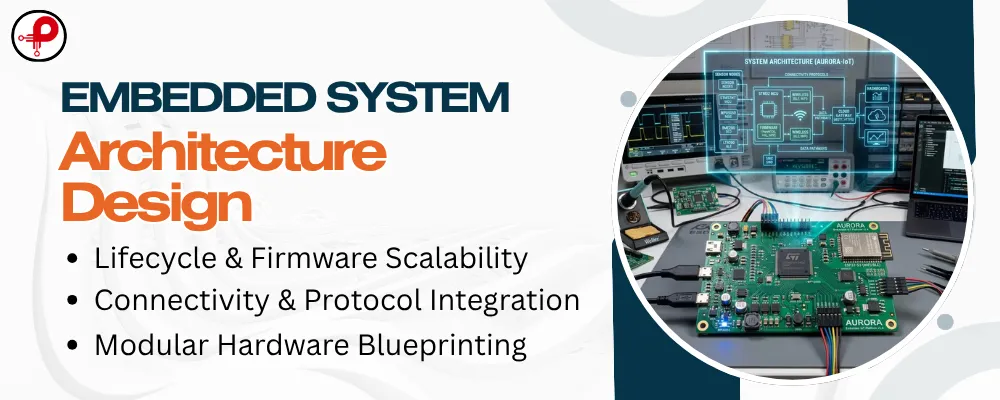
Define connectivity early. Whether choosing a Bluetooth module or other wireless protocols, integrate component and antenna requirements into your architecture before layout to ensure optimal signal placement.
Choose between two-layer or multilayer PCBs during the design phase. Dedicated ground and power planes provided by multilayer boards are essential for reducing EMI and improving signal integrity.
Evaluate the financial and timeline impacts of your stack-up choice. Balancing board complexity against budget and manufacturing speed prevents costly respins after prototyping.
Address critical architectural constraints before routing begins. Fixing fundamental issues at the design phase is significantly more efficient than attempting layout-stage workarounds later.
Another part of PCB design that startups frequently underestimate is reverse engineering. If you are iterating on an existing product, or inheriting a board from a contractor with incomplete documentation, understanding the original circuit intent matters just as much as designing something new. A practical walkthrough of reverse engineering electronic circuits shows how experienced engineers reconstruct schematics from an existing board before making design changes with confidence.
What Is PCB Layout?
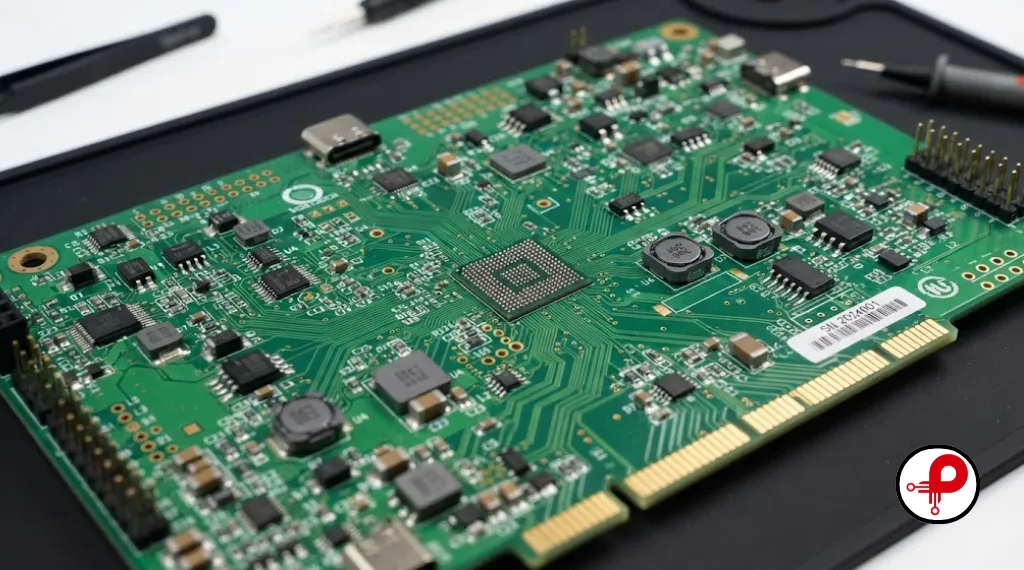
PCB layout is a sub-process inside PCB design, but it deserves its own spotlight because it is where the physical board actually takes shape. Once the schematic is locked and the netlist is generated, the layout engineer takes over and turns that logical diagram into a real, manufacturable footprint.
PCB layout covers component placement, trace routing, via placement, copper pour, ground plane structuring, and running design rule checks. This is the phase where abstract connections on a schematic become copper traces with a defined width, length, and layer assignment. A good PCB layout protects signal integrity, manages heat, and keeps the board affordable to manufacture. A poor one can turn a perfectly good schematic into a board that fails EMC testing or simply will not assemble correctly.
Layout engineers also think in terms of manufacturability from the very first placement decision. That means considering how the board will be soldered, where test points will sit, and how components will be oriented for automated assembly. If you want to understand how placement choices affect the physical assembly line, this guide on surface mount technology soldering is a useful companion to read alongside your first layout pass.
PCB Design vs PCB Layout: Quick Comparison Table
Here is the comparison chart I wish someone had handed me when I was starting out. It is the fastest way to see PCB design vs PCB layout side by side.
| Aspect | PCB Design | PCB Layout |
|---|---|---|
| Scope | Entire project, from requirements to final files | One phase within the design process |
| Main Output | Schematic, bill of materials, netlist | Component placement, routed traces, Gerber files |
| Primary Focus | Electrical function and system architecture | Physical implementation and manufacturability |
| Key Skills | Circuit theory, component selection, power budgeting | Trace routing, stack-up planning, DRC, thermal layout |
| Typical Tools | Altium Designer, OrCAD, KiCad schematic editor | Altium Designer, Cadence Allegro, KiCad PCB editor |
| Comes First? | Yes, it starts the process | No, it begins after schematic capture |
| Who Owns It | PCB or hardware design engineer | PCB layout engineer or the same engineer on small teams |
Notice that PCB layout sits fully inside the PCB design umbrella. A schematic without a layout is just a plan on paper. A layout without a validated schematic is a beautifully routed board that might not actually work.
It also helps to see how these two disciplines behave differently depending on the product category. A consumer gadget prioritizes small form factor and low cost layout decisions, while an industrial control board prioritizes reliability, wider clearances, and long term component availability. If you are designing for the consumer space, this consumer electronics product design guide walks through those trade offs, and if you are working on something closer to industrial equipment, this overview of industrial product design engineering covers the additional design constraints layout has to accommodate.
The PCB Design Process, Step by Step
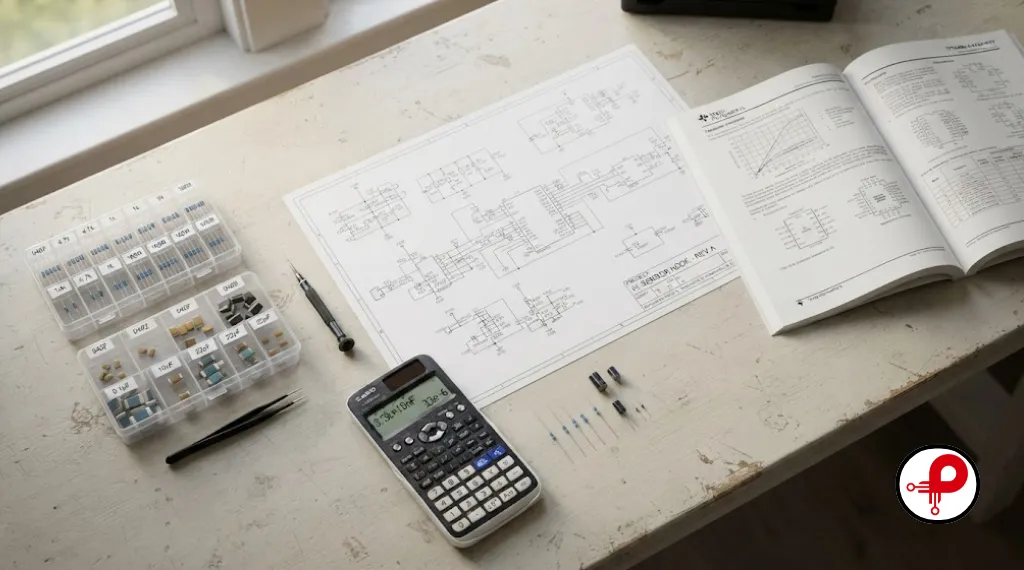
Understanding the full PCB design workflow makes it much easier to see why layout is treated as a distinct discipline. Here is the sequence most experienced teams follow.
1. Requirements Planning
Define specifications, costs, and regulatory targets. Use a power supply wattage calculator to estimate draw early and avoid expensive late-stage changes.
2. Schematic Capture
Document circuit logic using standardized tools. For passive components, use a capacitance conversion reference or a series and parallel capacitor calculator to save engineering time.
3. Component Selection and BOM Creation
Choose parts based on tolerance, availability, and lifecycle. Avoid end-of-life components to ensure your production run remains viable.
4. Design for Wireless and Communication Features
Finalize protocol choices and antenna placement now, as these decisions directly dictate the constraints and success of your future layout.
5. Handoff to Layout
Validate the schematic through simulation or review before generating the netlist. Clean documentation at this boundary is critical to preventing weeks of design rework.
The PCB Layout Process, Step by Step
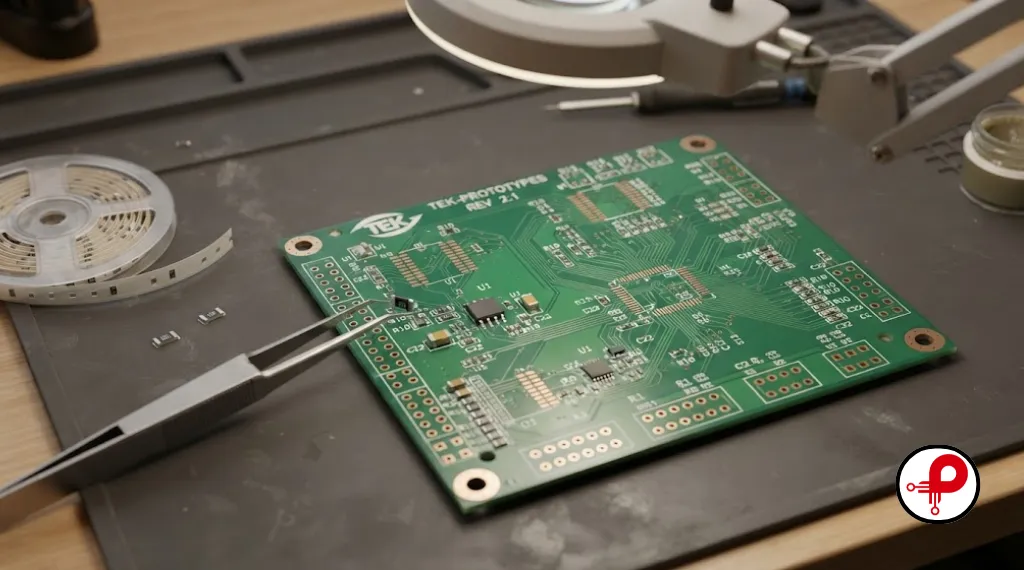
PCB layout follows its own distinct workflow, and it is worth walking through carefully because this is where most manufacturability problems either get solved or get created.
1. Stack-Up Planning
Before drawing traces, define the layer count, dielectric materials, and copper order. These decisions dictate impedance control and EMI performance; avoid using default templates without careful analysis.
2. Component Placement
This is critical to success. Group related components, isolate sensitive analog circuits from high-frequency noise, and plan for thermal relief. Many PCB design mistakes in failed prototypes stem from rushing this stage.
3. Signal Routing
Connect nets while adhering to high-speed requirements like matched lengths and controlled impedance for interfaces like USB or PCIe. Poor routing is a primary source of high-frequency switching noise.
4. Ground Planes and Power Distribution
A solid ground plane strategy is essential for noise reduction and return paths. Treat this as a core design requirement to avoid expensive redesigns discovered during electromagnetic compatibility testing.
5. Design Rule Check (DRC)
Use DRC as your final safety net to verify widths, clearances, and spacing against manufacturer capabilities. It is a necessary technical check, but it does not replace the need for sound engineering judgment.
6. Generating Manufacturing Files
Export your Gerbers, drill files, and pick-and-place data. For a deeper look at the transition to production, check out this walkthrough of the PCB manufacturing and assembly process.
PCB Design vs PCB Routing
People often ask about PCB design vs PCB routing as if routing were a separate discipline entirely. In reality, routing is simply one task inside the broader PCB layout phase. Routing specifically refers to drawing the copper traces that connect component pads according to the netlist. Placement, stack-up planning, and DRC are all part of layout too, but routing is the piece most people picture when they imagine a PCB layout engineer at work.
PCB Schematic vs PCB Layout
A schematic is a logical diagram. It shows how components connect electrically using standardized symbols, without any regard for physical position. A PCB layout, on the other hand, is a physical representation with exact measurements for trace widths, pad sizes, hole diameters, and component footprints. The schematic answers “how does this circuit work,” while the layout answers “how does this circuit fit on a manufacturable board.” Confusing the two is one of the fastest ways to miscommunicate requirements to a contractor or a new hire.
PCB Design Engineer vs PCB Layout Engineer
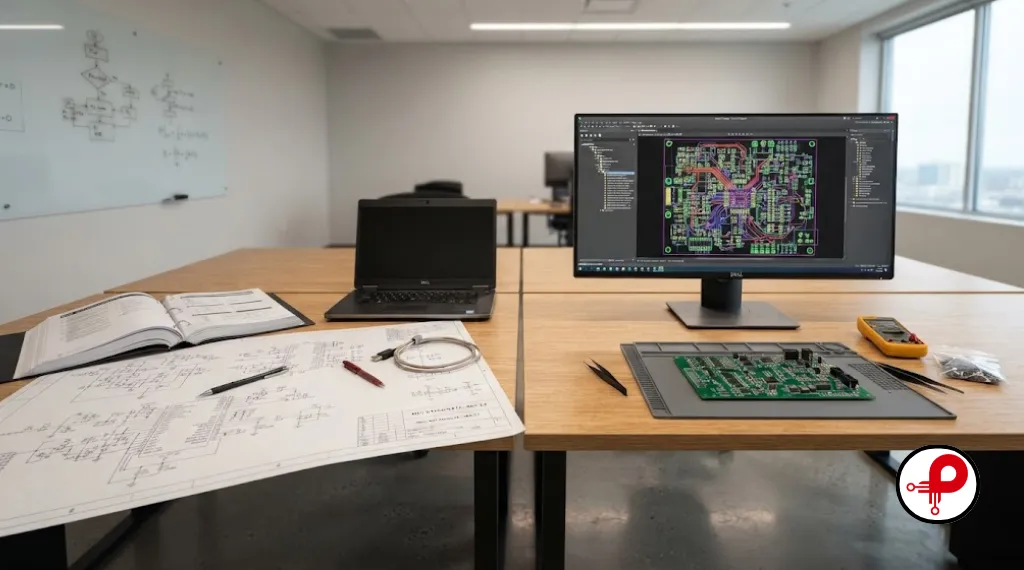
On larger teams, these are genuinely different job titles with different skill sets. A PCB design engineer typically owns circuit theory, component selection, and system level architecture. A PCB layout engineer specializes in placement, routing, stack-up, and manufacturability. On small startup teams, one person often wears both hats, which is completely normal for simple boards but becomes risky once you move into multilayer, high speed, or safety critical designs.
If your product involves a microcontroller platform, it helps to look at platform specific layout guidance, such as an ESP32 PCB design guide or an Arduino Uno Q guide, because these resources show how design decisions and layout decisions interact for a specific chipset rather than in the abstract.
Popular PCB Design and Layout Tools
| Tool | Best For | Design Stage |
|---|---|---|
| Altium Designer | Professional, high speed, complex boards | Both design and layout |
| KiCad | Startups, open source projects, budget teams | Both design and layout |
| Cadence Allegro | Enterprise level, high layer count boards | Primarily layout |
| Eagle | Small teams and hobbyist to prosumer projects | Both design and layout |
| OrCAD | Schematic heavy, legacy enterprise workflows | Primarily design |
According to the IPC standards body, which publishes the industry benchmark specifications for PCB fabrication and assembly, following documented design and layout standards significantly reduces first pass failure rates, which is exactly why tool choice matters less than process discipline.
Common Mistakes Startups Make
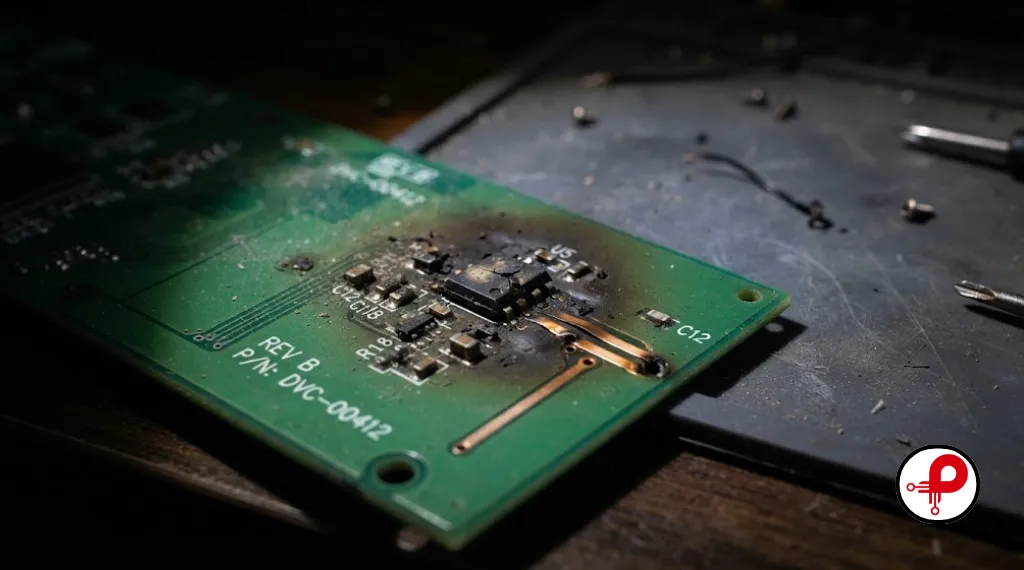
Startups tend to repeat the same handful of mistakes when they blur the line between PCB design and PCB layout.
Jumping straight into schematic capture often yields boards that function on a bench but fail to scale. Check our full breakdown of PCB design mistakes to avoid this common trap.
Handing off layout without context prevents engineers from making informed placement decisions. Proper communication between teams at this boundary is essential for successful design.
Founders often misidentify EMI as purely a layout issue. In reality, it originates in design choices like clock frequency. See this overview of EMI issues, causes, and fixes to understand where the responsibility sits.
Teams often default to custom boards when modules reach the market faster. Review this comparison of custom PCB design vs off-the-shelf solutions before committing engineering hours.
A Real World Example
A hardware startup I worked with was building a battery powered IoT sensor. Their in house engineer had strong schematic skills but limited layout experience with high density boards. The schematic correctly specified a lithium battery with protection circuitry, similar to what is described in this guide on lithium ion battery protection circuits, but the layout placed the protection IC too far from the battery connector, which introduced trace resistance that tripped the protection threshold under normal load.
The fix was not a schematic change at all. It was a layout change, moving the protection circuitry closer to the battery input and widening the power traces. This is a textbook example of why PCB design and PCB layout need to be reviewed together rather than treated as a simple handoff with no feedback loop.
Best Practices for Startups
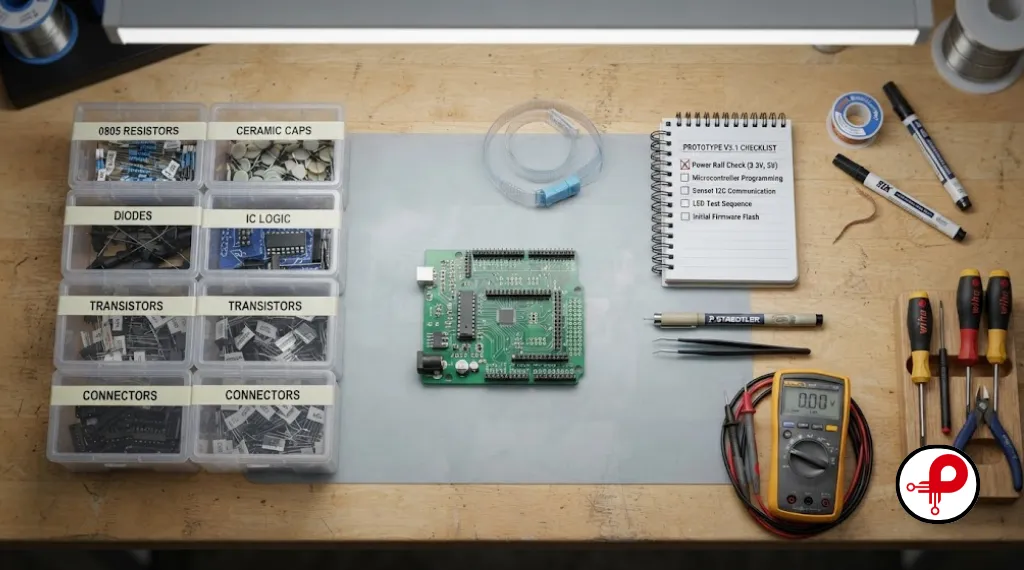
Keep your schematic and layout engineers in the same room, even if that room is a video call, especially during the first placement pass. Run design rule checks early and often rather than saving them for the end. Document your stack-up decisions so future revisions do not have to reverse engineer your reasoning. If EMI is a concern for your product category, review shielding options early using a guide like EMI shielding materials and types rather than treating shielding as a last resort fix.
For teams scaling toward mass production, it is also worth understanding how automated inspection fits into your quality process. This explanation of automated optical inspection working principles shows how layout decisions made months earlier directly affect inspection yield on the assembly line. And if you are building a broader hardware roadmap rather than a single board, this resource on hardware development for startups ties the design and layout conversation into the bigger product picture, alongside a look at current PCB design trends shaping the industry heading into 2026.
High-Speed PCB Design Considerations
Loop in your layout engineer early. Decisions made during schematic capture—such as pinout and package selection—directly constrain the layout engineer’s ability to meet high-speed performance targets.
High-speed designs require a precisely planned stack-up. Define your layer count, dielectric materials, and copper weight before routing to ensure signal integrity across your differential pairs.
DDR, USB 3, and HDMI require tightly matched trace lengths and careful via placement to prevent signal reflections and timing skews that can crash a high-speed system.
It is significantly cheaper to prevent high-frequency switching noise through smart placement than to fix it with shielding or board-level rework after the prototype is built.
Review how EMI/EMC filters reduce noise in power electronics. Using the right filtering strategies early helps stabilize power-dense boards before they reach compliance testing.
Adopt the habit of reviewing EMI issues, causes, and fixes as a team. Combining design-stage architecture with layout-stage filtering is the fastest path to EMC compliance.
Applying This to Embedded Projects
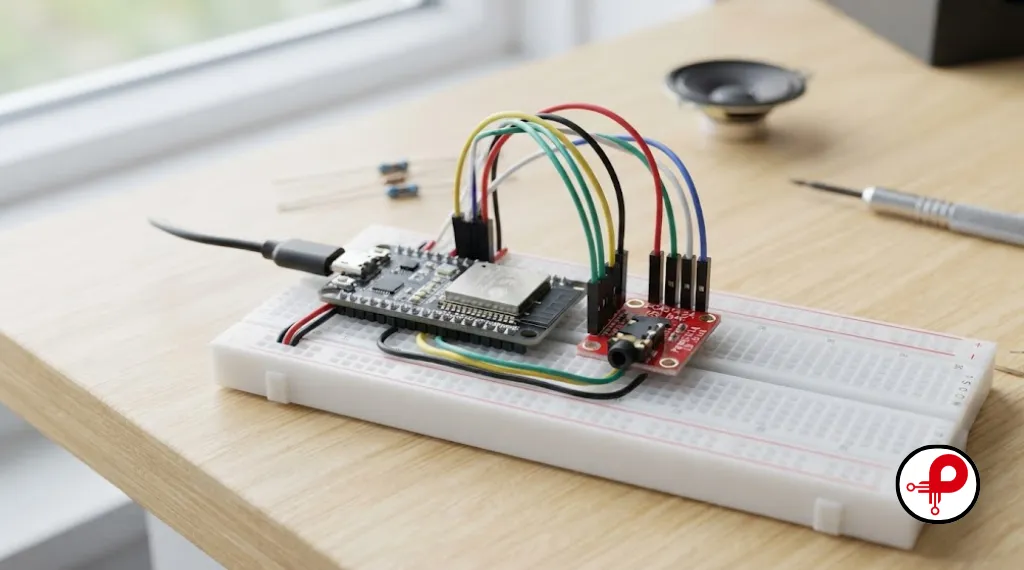
Theory is useful, but seeing PCB design vs PCB layout play out on a real embedded project makes the distinction stick. Consider a project built around an ESP32 module with an audio output feature, similar to the kind of build described in this ESP32 audio player using the YX5300 MP3 module project. During design, the engineer decides on the audio module, power requirements, and communication protocol. During layout, that same engineer or a layout specialist has to physically separate the noisy digital section from the analog audio path to avoid audible interference, which is a layout decision, not a schematic decision.
This is exactly why a dedicated ESP32 PCB design guide is so valuable for makers moving from breadboard prototypes to a finished board. It shows how design intent and physical layout constraints have to be solved together rather than in isolation.
Wire Gauge and Power Considerations in Layout
One layout detail that trips up even experienced makers is matching trace width and connector wiring to actual current draw. Undersized traces or wires create voltage drop and heat, which can look like a design bug when it is really a layout oversight. If your board connects to external wiring or power harnesses, a quick check against a wire AWG size conversion calculator helps confirm that your connector and cable choices can actually handle the current your design calls for, before you commit to a final layout.
Frequently Asked Questions
What is PCB design?
↑What is PCB layout?
↓Is PCB layout part of PCB design?
↓How to design a PCB from scratch?
↓What is the difference between PCB design and PCB routing?
↓Can one person do both PCB design and PCB layout?
↓What tools are used for PCB design vs PCB layout?
↓Does PCB layout affect EMI performance?
↓What comes first, PCB design or PCB layout?
↓Final Thoughts
PCB design vs PCB layout is not a competition between two disciplines, it is a relationship between a strategic phase and an execution phase. Design defines what the circuit needs to do. Layout determines whether that intent survives contact with real world manufacturing constraints. Startups that respect this distinction, keep communication open between the two stages, and follow a disciplined process from requirements planning through Gerber file generation consistently ship more reliable products with fewer costly revisions.
If you are exploring engineering support for your own board, comparing electronics prototyping and product design services or reading up on the complete electronic product design workflow can help you decide which parts of this process you want to own in house and which parts you want to hand off to a specialized partner.
About the Author
This guide was written from more than eight years of hands-on hardware engineering experience, covering everything from single-layer sensor boards to multilayer, high-speed embedded systems. The workflows, mistakes, and examples described here come from real prototyping and production projects, not just textbook theory. For broader context on industry standards referenced in this article, see the IPC organization, which publishes the acceptability and design standards used across the PCB manufacturing industry, and Altium’s resource hub, which offers free technical documentation for engineers learning modern design and layout tools.