Quick answer: in the prototype cost vs production cost comparison, a prototype costs far more per unit but needs little upfront money, while production needs large upfront spending on tooling, fixtures and setup but brings the cost per unit down. A 3D printed enclosure might cost $45 each as a prototype and about $1.20 each once a $25,000 injection mould exists. Production becomes cheaper in total once your volume passes the break even point, which sits around a few hundred units in that example.
Founders often look at a $190 prototype and assume the product will sell for $400. That assumption breaks both ways. The prototype price tells you little about the production price, because the two follow different cost structures. One buys speed and flexibility. The other buys low unit cost through volume.
This guide explains prototype cost vs production cost in plain numbers. You will see what drives each one, how tooling pays for itself, and how one electronic product drops from $190 a unit to under $30 as it scales from 5 to 5,000 units.
If you need prototype budgets first, read our guide on the cost of prototyping a product.
Prototype Cost vs Production Cost: The Short Answer
Prototype and production costs come from the same design, but they spend money in opposite places.
| Factor | Prototype | Production |
|---|---|---|
| Cost per unit | High | Low |
| Upfront cost | Low to moderate | High (tooling, fixtures, setup, certification) |
| Typical quantity | 1 to 100 units | Hundreds to millions |
| Processes | 3D printing, CNC, hand assembly | Injection moulding, die casting, SMT lines |
| Design changes | Cheap and fast | Expensive once tooling exists |
| Lead time per batch | Days to weeks | Weeks to months for first run, then fast |
The prototype cost vs production cost gap comes from fixed costs. A prototype spreads small setup costs across a few units. Production spreads large setup costs across thousands, so each unit carries a tiny share.
Cad Crowd’s guide to prototype cost vs production cost makes the same point: a prototype price is a poor guide to the manufacturing price because of economies of scale.
Common mistakes when comparing the two
Three mistakes show up in most early prototype cost vs production cost estimates:
- Treating the prototype price as the production price. A $190 prototype does not mean a $190 product. Volume pricing, tooling and automation change each line of the cost.
- Ignoring one time costs. A $1.20 moulded part sounds cheap until you add a $25,000 mould. Spread that tooling over your real first order, not over a hopeful lifetime volume.
- Planning production around a prototype design. A design that works as a prototype may need changes to mould, assemble or test at volume. Those changes cost far less before tooling than after.
Avoiding these three mistakes keeps your prototype cost vs production cost plan honest and helps you set a selling price that survives the first production run.
Why a Prototype Costs More Per Unit
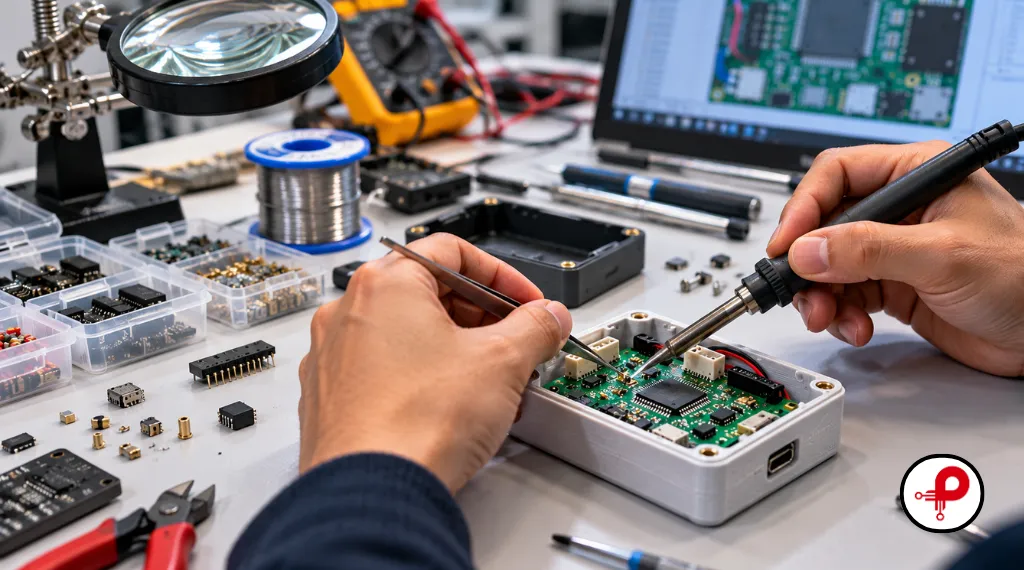
A prototype carries costs that production spreads thin or removes. Four factors explain most of the difference.
Setup costs land on a handful of units
Each batch needs setup: CAM programming for a CNC part, a stencil and machine program for PCB assembly, or a print job and post processing. In a run of five, those costs sit on five units. In a run of 5,000, the same setup adds a few cents to each unit.
Flexible processes cost more per part
Prototypes use processes that need no tooling, such as 3D printing and CNC machining. They let you change the design overnight, but each part takes machine time and manual finishing. Fictiv’s prototyping cost guide puts simple 3D printed parts under $50 and injection moulded prototypes with tooling at $10,000 or more.
Components cost more in small quantities
Electronic parts bought by the piece cost several times their reel price. A microcontroller priced at a few dollars in single units can drop well below that at reel quantities. Prototype builds pay the single unit price and often pay express shipping on top.
Hand assembly and debugging take engineering hours
An engineer solders, wires, flashes and tests each prototype. That time costs far more than an automated line and a trained operator. Prototype cost vs production cost comparisons that ignore engineering hours understate the prototype side.
Rush fees and express shipping
Prototype schedules are tight, so teams pay for 24 or 48 hour fabrication and express couriers. Those fees can add 80 to 200 percent to a small order. Production orders run on planned lead times and ship by sea or economy freight, which cuts the logistics cost per unit.
For a deeper look at how cheap shortcuts raise costs later, read why cheap hardware development ends up costing more.
What Production Cost Includes
Production cost has two parts: one time costs you pay before the first sellable unit, and the unit cost you pay for each product after that.
One time costs (NRE and tooling)
| Item | What it covers | Typical scale |
|---|---|---|
| Injection mould tooling | Steel or aluminium tools for plastic parts | $5,000 to $100,000+ per part family |
| Test fixtures | Bed of nails or functional test jigs for PCBA | $1,000 to $15,000 |
| Stencils and line programming | SMT setup for each board | Hundreds to low thousands |
| Certification | FCC, CE, UL or similar for electronics | $5,000 to $50,000+ depending on product |
| Packaging and documentation | Box design, manuals, labels | $1,000 to $10,000 |
| Production engineering (NRE) | DFM changes, work instructions, line setup | Quoted per project |
These figures are indicative ranges for planning, not quotes. Your contract manufacturer will price them for your design.
Unit costs
After the one time costs, each unit carries:
- Bill of materials (BOM): components at volume prices.
- Fabrication: moulded parts, PCBs and metal parts at volume rates.
- Assembly and test labour: minutes per unit on a line.
- Packaging, freight and duties: often missed in early plans.
- Yield loss: a share of units that fail test and need rework or scrap.
The true production cost per unit equals the unit cost plus the one time costs divided by the number of units you plan to build. That division is the core of prototype cost vs production cost planning.
Minimum order quantities and inventory
Production brings minimum order quantities (MOQs). A factory may need 1,000 moulded parts per run, and some components ship only in full reels. You pay for that stock before you sell a unit, so production ties up cash in inventory. A prototype cost vs production cost comparison should include the cash you hold in parts and finished goods, not only the price per unit.
Our guide to the real cost of building a hardware product covers certification and inventory in more detail.
Prototype Cost vs Production Cost by Process
Each prototype process has a production counterpart. The table compares typical per unit costs for small parts and boards.
| Part or step | Prototype method and cost | Production method and cost | Tooling or setup |
|---|---|---|---|
| Plastic enclosure | 3D printing, $20 to $200 per part | Injection moulding, under $1 to a few dollars per part | $5,000 to $100,000 mould |
| Metal bracket | CNC machining, $50 to $500 per part | Stamping or die casting, cents to a few dollars | $3,000 to $50,000 die |
| PCB (bare board) | Prototype order, a few dollars per board for small runs | Panelised production, lower again per board | Minimal |
| PCB assembly | Hand or small batch assembly, $20 to $100+ per board | SMT line, a few dollars per board | Stencil, programming, fixture |
| Final assembly | Engineer assembles each unit | Line operator with work instructions | Jigs and training |
PCB pricing drops as volume grows. PCBCart’s comparison of prototype and production pricing describes a 20 to 50 percent drop when boards move to production volumes. Our low cost PCB prototype guide shows where prototype board money goes.
Electronics vs mechanical products
The prototype cost vs production cost gap looks different for electronics and mechanical parts. Mechanical parts see the biggest drop, because moulding and stamping replace slow, flexible processes once tooling exists. Electronics drop less on the board itself, since PCB fabrication and SMT assembly scale without large tools, but they carry extra one time costs for test fixtures and certification.
A product built around electronics in an off the shelf enclosure can reach production with modest tooling. A product with several custom plastic and metal parts needs a larger tooling budget before the unit cost falls.
Bridge processes between prototype and production
Some processes sit between the two:
- Urethane casting: silicone moulds make 10 to 50 similar parts with a production look.
- Prototype or rapid tooling: aluminium moulds cost less than steel and suit a few hundred to a few thousand parts. Protolabs’ prototype tooling page describes this route.
These bridges let you sell or test a first batch before you commit to full production tooling.
Break Even Point: When Tooling Pays Off
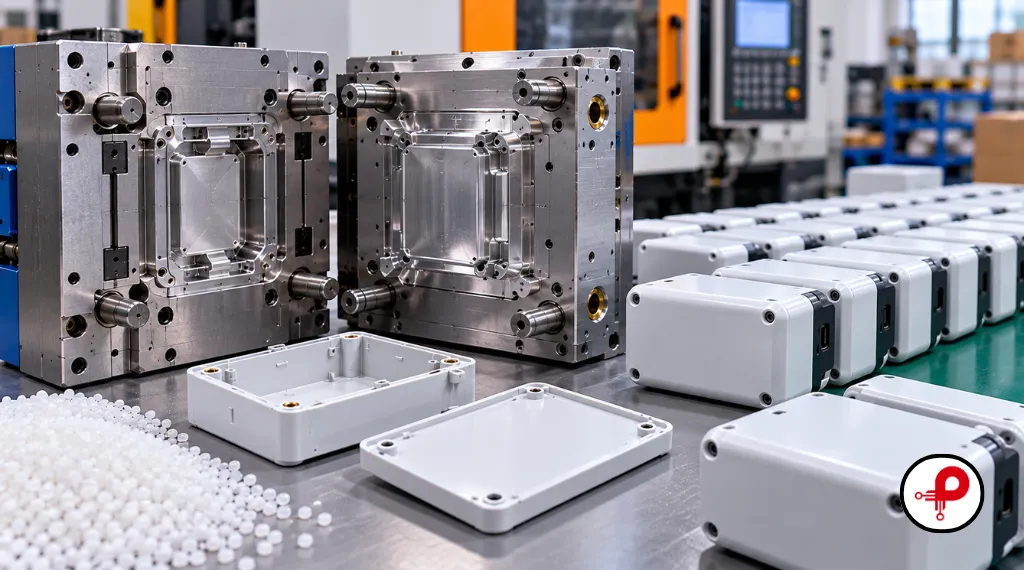
The break even point tells you the volume where production tooling becomes cheaper than continuing with prototype methods. The formula is short:
Break even units = tooling cost ÷ (prototype cost per part − production cost per part)
Example: a plastic enclosure
- 3D printed enclosure: $45 per part, no tooling.
- Steel injection mould: $25,000 tooling, $1.20 per part.
Break even = $25,000 ÷ ($45 − $1.20) = $25,000 ÷ $43.80 ≈ 571 units.
Below 571 units, 3D printing costs less in total. Above it, the mould wins, and each extra unit saves $43.80.
Example: a rapid aluminium tool
- Aluminium mould: $8,000 tooling, $2.50 per part.
Break even = $8,000 ÷ ($45 − $2.50) = $8,000 ÷ $42.50 ≈ 188 units.
The cheaper tool pays off sooner but costs more per part and wears out faster. For a first batch of 300 to 1,000 units, it is often the better choice.
Design changes after tooling cost more
Tooling locks the design. A small change to a moulded part can mean welding and recutting steel, which can cost hundreds or thousands of dollars and add weeks. Protolabs explains how mould cost builds up, and the same factors drive the cost of changes. Finish your design validation before you order production tooling, and use a cheaper bridge tool if the design may still change.
When to stay with prototype methods
Tooling is not the right answer for each product. Stay with 3D printing, CNC or urethane casting when:
- Your first order is below the break even volume.
- The design may still change after customer feedback.
- You sell a niche or custom product with low annual volume.
Many small hardware companies ship their first few hundred units with printed or cast parts, then move to moulds once sales prove the demand. That approach keeps prototype cost vs production cost risk low while the market decides.
These examples use illustrative prices to show the method. Plug in your own quotes to find your break even point. This one calculation answers most prototype cost vs production cost decisions for mechanical parts.
Worked Example: One Product From 5 to 5,000 Units
Here is how prototype cost vs production cost plays out for one small connected sensor with a custom PCB, a few components and a plastic enclosure. The figures are illustrative allowances, not supplier quotes, and they exclude design engineering.
| Cost item | 5 prototypes | 100 pilot units | 5,000 production units |
|---|---|---|---|
| PCB fabrication and assembly | $80.00 | $18.00 | $4.50 |
| Components (BOM) | $25.00 | $14.00 | $8.50 |
| Enclosure | $45.00 (3D printed) | $15.00 (urethane cast) | $1.20 (moulded) |
| Assembly and test labour | $40.00 | $8.00 | $2.50 |
| Unit cost | $190.00 | $55.00 | $16.70 |
| Setup, fixtures and tooling spread per unit | $0 | $20.00 ($2,000 ÷ 100) | $5.00 ($25,000 ÷ 5,000) |
| Certification spread per unit | $0 | $0 | $3.00 ($15,000 ÷ 5,000) |
| All in cost per unit | $190.00 | $75.00 | $24.70 |
Three lessons stand out:
- The unit cost drops more than 90 percent from prototype to production, from $190 to $16.70.
- One time costs matter at each stage. At 5,000 units, tooling and certification add $8 to each unit, about a third of the all in cost.
- Volume decides the price you can sell at. At 100 units, $75 each leaves little margin for a $99 product. At 5,000 units, $24.70 leaves room for retail and distribution margins.
What the example leaves out
The table covers hardware cost only. A full plan for a product launch also includes design engineering, firmware, certification test time, packaging, freight, duties, returns and marketing. Those costs do not shrink per unit in the same way, so build them into your price as their own lines. The prototype cost vs production cost gap is large, but it is one part of the total cost of bringing a product to market.
A pilot run of 50 to 500 units tests your production process and supply chain before you spend on full tooling. Our guide on how much prototypes cost covers the earlier builds in this path.
How to Lower Production Cost While You Prototype
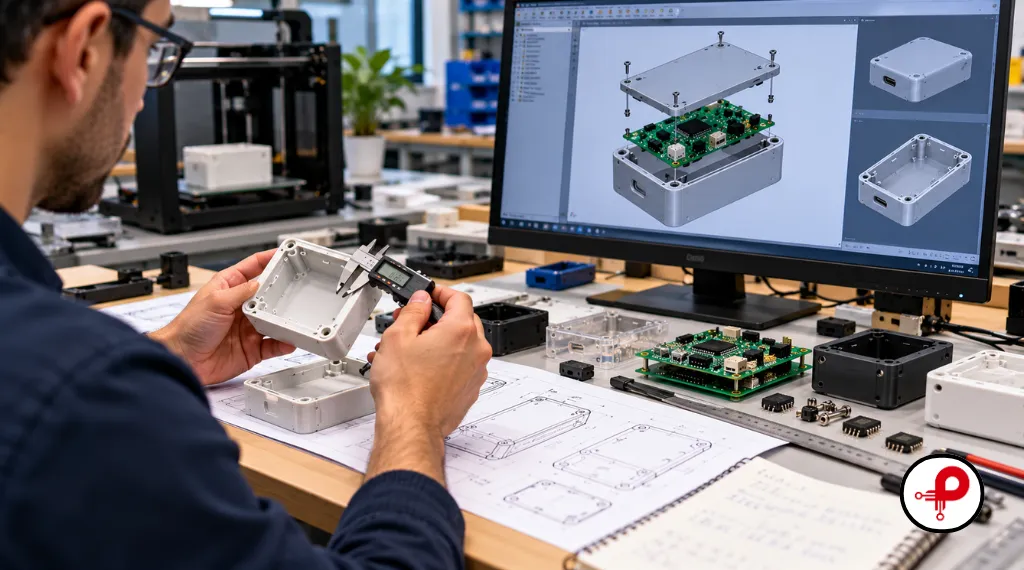
Design decisions made at the prototype stage lock in most of your production cost, so they shape prototype cost vs production cost more than any supplier quote. You can cut that cost long before you talk to a factory.
Design for manufacturing from the first custom build
Draft angles, uniform wall thickness and snap fits make moulded parts cheaper. Standard drill sizes and common PCB specs keep board costs down. Our DFM and DFA guidelines list the rules that matter most.
Choose components with volume in mind
Pick parts with long lifecycles, several distributors and reel packaging. A cheap prototype part with a single source can block production or force a redesign.
Design the enclosure for moulding
A shape that prints well may not mould well. Undercuts, thick walls and sharp internal corners add tooling cost. Our electronic enclosure design guidelines cover moulding friendly features.
Plan for automated assembly
SMT parts assemble faster and cheaper than through hole parts on a production line. Our comparison of SMT vs through hole explains the trade off. Panel design also affects assembly cost, so ask your manufacturer for its preferred panel format before you finalise the board.
Build test into the design
Test points and a simple test interface let a fixture check each board in seconds. Our PCB testing and inspection guide covers the checks production lines use.
Moving From Prototype to Production: Step by Step
The path from prototype to production follows a series of builds, and each one moves the prototype cost vs production cost balance a step closer to volume pricing. Each one reduces risk before you spend more money.
| Stage | Purpose | Typical quantity |
|---|---|---|
| Prototype builds | Prove the design works | 1 to 20 |
| EVT (engineering validation test) | Confirm the design meets specs | 10 to 50 |
| DVT (design validation test) | Pass reliability and pre compliance tests with near final parts | 50 to 200 |
| PVT (production validation test) | Run the real line, tools and process | 100 to 1,000 |
| Mass production | Ship to customers | Thousands and up |
At each stage, the prototype cost vs production cost balance shifts. Early builds spend on flexibility. Later builds spend on tooling and process. The PVT run should use the final tools, fixtures and line so the first production order has no surprises.
Questions to ask your contract manufacturer
Before you sign a production quote, ask:
- What are the tooling, fixture and setup costs, and who owns the tools?
- What is the unit price at 500, 1,000 and 5,000 units?
- What minimum order quantities apply to parts and finished goods?
- What yield do you expect, and who pays for rework and scrap?
- How do you handle design changes after tooling?
Clear answers to these questions turn a rough prototype cost vs production cost estimate into a plan you can price your product on.
Choose the right manufacturing partner
A contract manufacturer quotes production, but a development partner can help you get there with a design that fits the factory. Our guide to choosing a prototype development company explains what to ask, and our overview of the PCB manufacturing and assembly process shows what happens on the line.
FAQ About Prototype Cost vs Production Cost
1. What is the difference between prototype and product?
↑2. What is a production prototype?
↓3. What’s next after prototype?
↓4. How to go from prototype to production?
↓5. How much does a prototype cost?
↓6. What is the typical cost of creating a prototype?
↓7. What are the main stages of product validation?
↓8. How do tooling costs affect unit economics?
↓Conclusion
Prototype cost vs production cost comes down to where you spend: prototypes spend per unit to stay flexible, and production spends upfront to make each unit cheap. A $190 prototype can become a $25 production unit once tooling, volume pricing and automated assembly take over.
Use the break even formula to decide when tooling pays off, plan a pilot run before full production, and design for manufacturing from your first custom build. If you want help planning the path from prototype to production for your own product, you can request a quote from our team.